P0029: Exhaust Valve Control Solenoid Circuit Range/ Performance (Bank 2)
When you purchase through links on our site, we may earn an affiliate commission. See our affiliate disclaimer for more information.
What does the P0029 Exhaust Valve Control Solenoid Circuit Range/ Performance (Bank 2) mean?
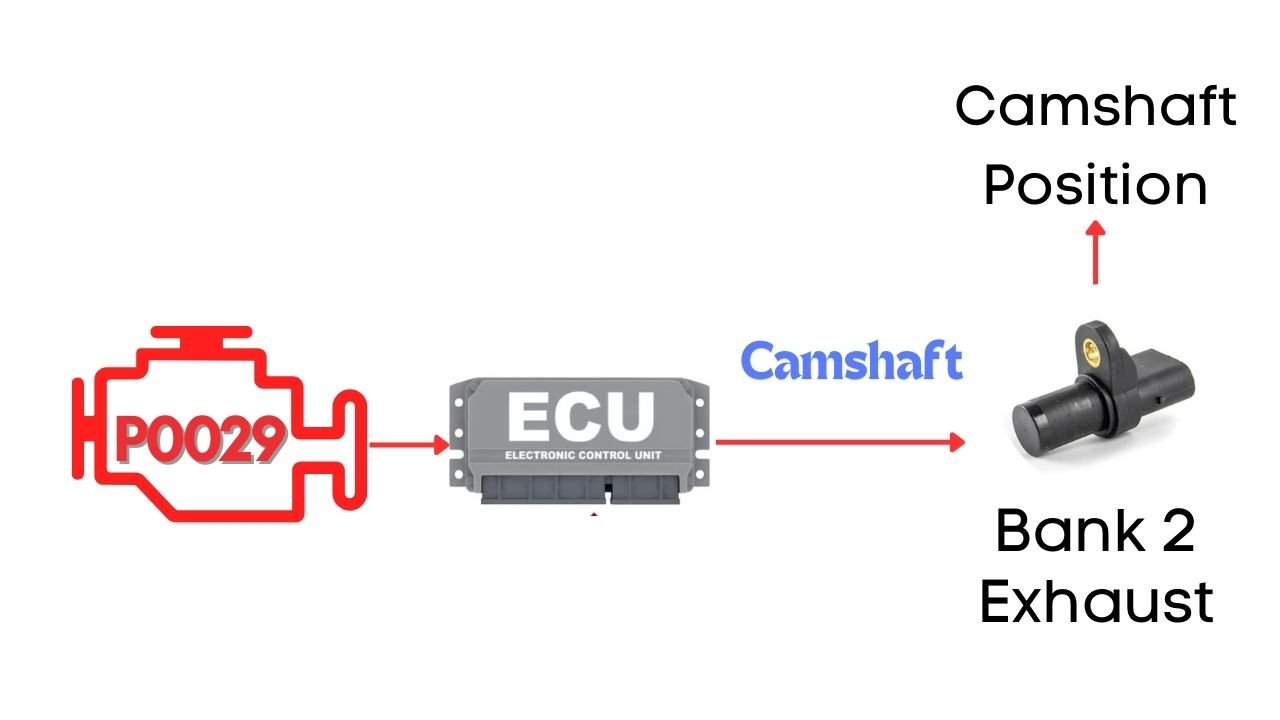
The P0029 code is triggered when the ECM detects that the actual camshaft position doesn’t match the desired camshaft position. Specifically, this code points to an issue with the camshaft position actuator circuit for Bank 2—referring to the exhaust camshaft.
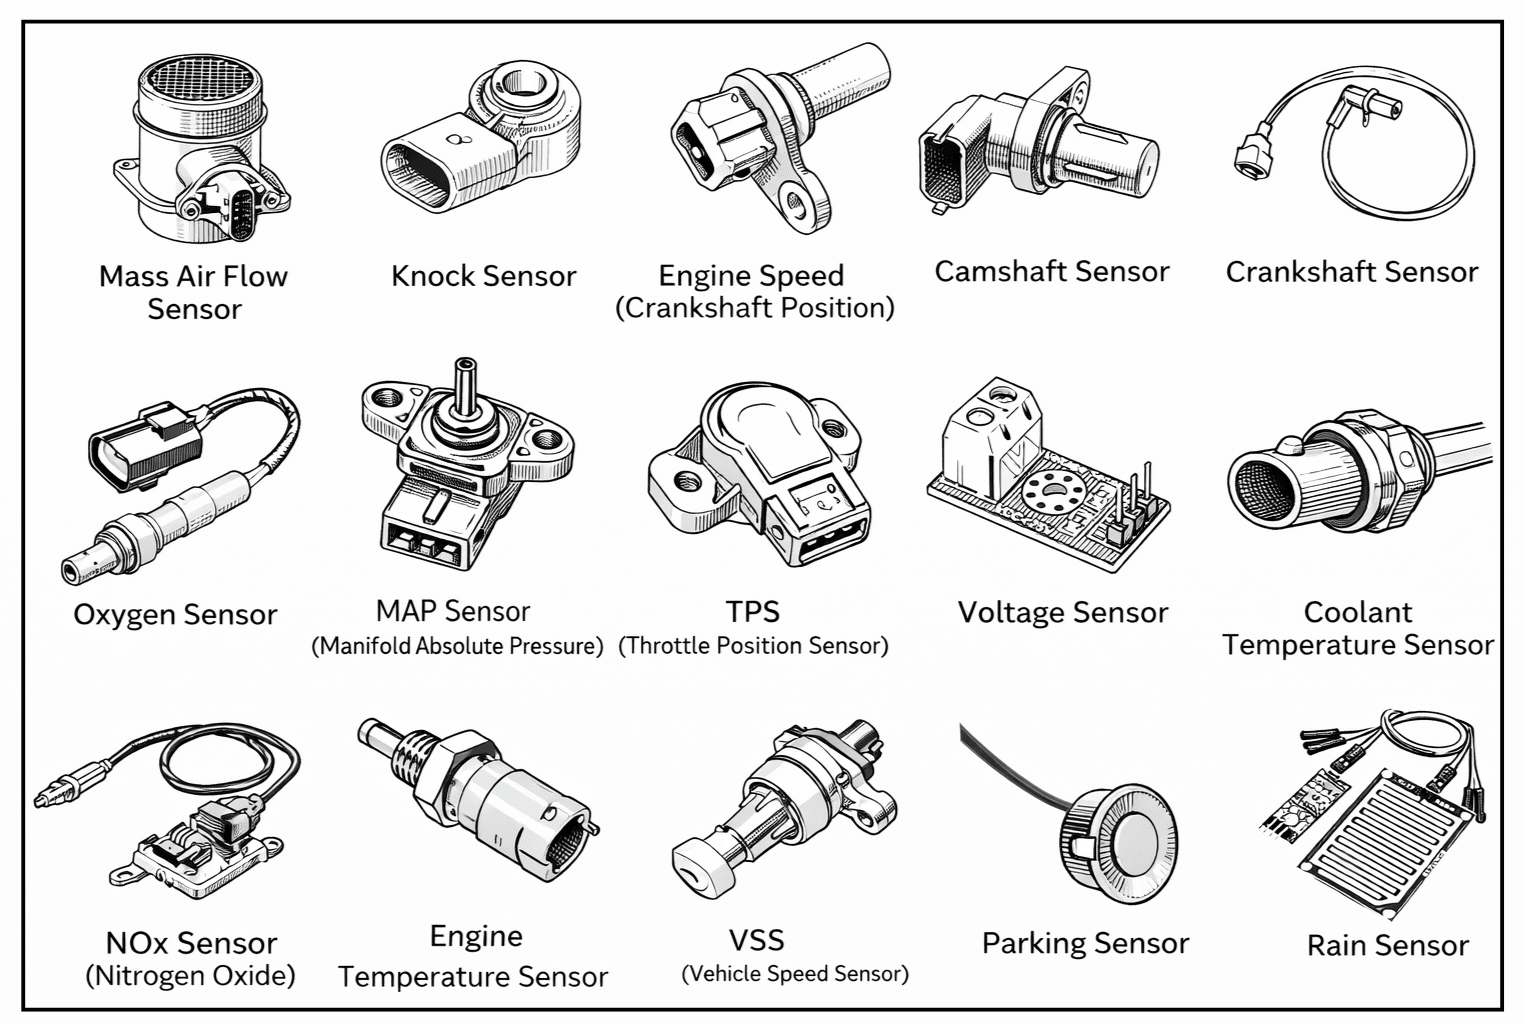
To learn how to diagnose car sensor–related issues and understand OBD-II codes, read our complete guide.
STOP GUESSING. START DIAGNOSING. SAVE HUNDREDS ON REPAIRS.
Tired of expensive repair bills and mechanics who “parts-cannon” your car without finding the real issue? The “Check Engine” light shouldn’t be a mystery. This guide puts professional-level diagnostics in your hands.
When the P0029 Triggers?
Your engine’s camshaft position sensor is constantly measuring the position of the camshaft and sending that data straight to the ECU. ECU using it to control the Variable Valve Timing, or VVT, solenoid.
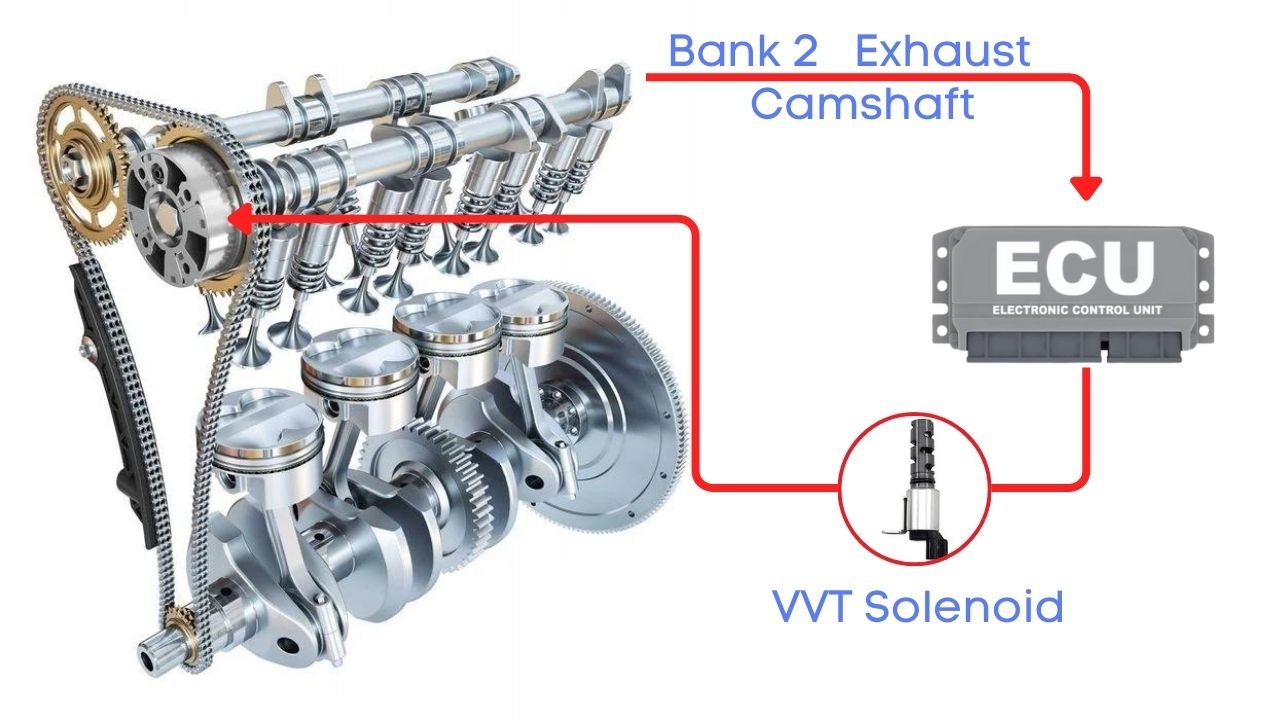

Depending on the engine load and speed, the ECU sends pulse commands to the VVT solenoid to either advance or delay the camshaft’s position. The VVT solenoid then makes the necessary adjustments to the cam phaser, ensuring your engine is performing efficiently and smoothly.
If the ECU detects that the camshaft’s advance or delay is taking too long, or if it simply can’t reach the desired camshaft position, it’s going to raise a red flag. That’s when the P0029 code gets triggered.
Read more about:
Car Sensors Explained: What They Do and How to Diagnose Them
With the increasing use of electronic systems in modern vehicles,…
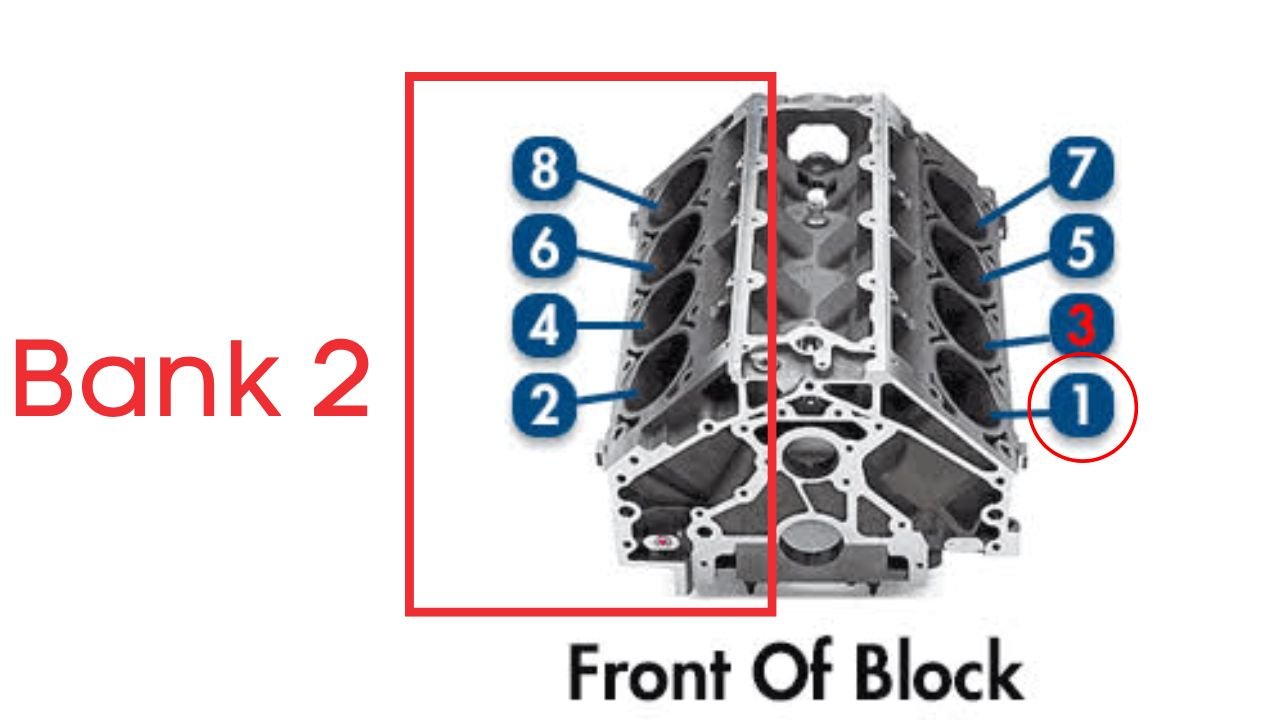
What is Bank 2 Exhaust Camshaft?
In the case of V6 or V8 engines, there are two camshafts: Bank 1 and Bank 2. For Dual Overhead Camshaft (DOHC) engines, there are two camshafts per bank: intake and exhaust.
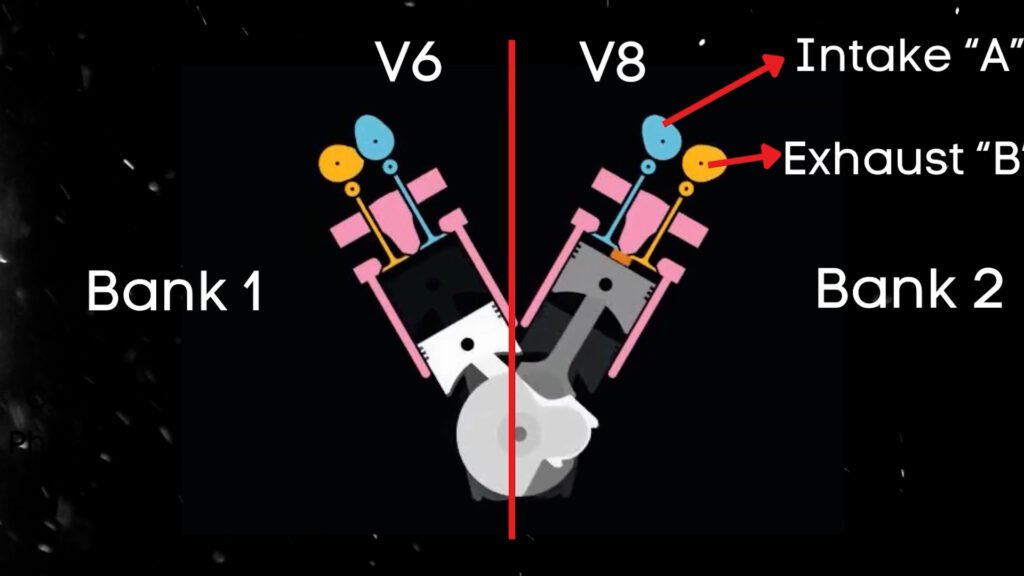

Bank 2 typically refers to the opposite side of the engine where cylinder 1 is located. So, when we talk about the Bank 2 exhaust camshaft, we’re focusing on the camshaft that controls the intake valves for that specific side of the engine.

To learn how to diagnose car sensor–related issues and understand OBD-II codes, read our complete guide.
STOP GUESSING. START DIAGNOSING. SAVE HUNDREDS ON REPAIRS.
Tired of expensive repair bills and mechanics who “parts-cannon” your car without finding the real issue? The “Check Engine” light shouldn’t be a mystery. This guide puts professional-level diagnostics in your hands.
How To Fix P0029?
Troubleshooting P0029 involves several steps, and we’ll discuss each one in detail. Let’s get started!
Before diving into specific repairs, perform an OBD-II scanner reset to clear the codes. Sometimes, these codes pop up due to recent maintenance work and can resolve themselves after a reset.
To reset the error codes, use an OBD-II scanner. Simply connect the scanner to your vehicle, follow the instructions to clear the trouble codes, and see if the P0029 code reappears.
If the code comes back, it means there’s a persistent issue that needs further troubleshooting.
Step #1 – Scan for any other activated OBD-II codes.
The first step is to scan for any other activated OBD-II codes. This helps us pinpoint where we need to focus. If there are other codes related to a faulty camshaft sensor, we should focus on the camshaft sensor. Similarly, if there are codes related to the VVT solenoid, that’s where our attention should go.
Step #2 – Visually Inspect Cam sensor and VVT Solenoid
Visually inspect the cam sensors and vvt solenoid and their harnesses for damage. Look for broken or frayed wires. If you find any, repair them and recheck. If the cam sensor and vvt solenoid are physically damaged, they need to be replaced.
If both the crank and vvt solenoid, along with their harnesses, are in good condition but the P0029 code still persists, further troubleshooting is required. Let’s move on to the next step.
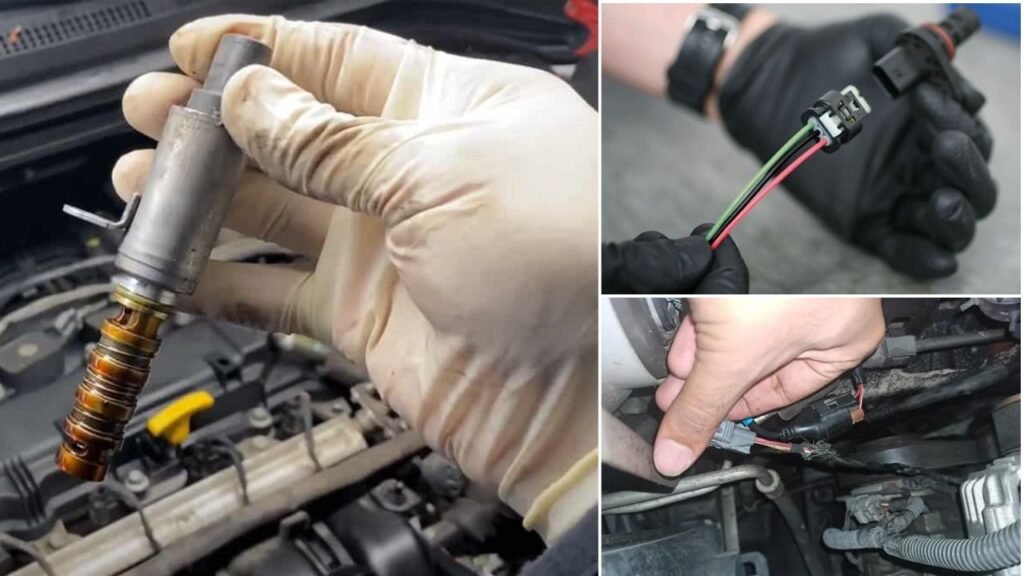

Step #3 – Test VVT actuator and Cam Sensors
You can test the VVT actuator and cam sensors using a multimeter. The process can vary depending on the type of cam sensor you have. If your vehicle uses a Hall Effect sensor, the testing method will differ from that of a permanent magnetic sensor.
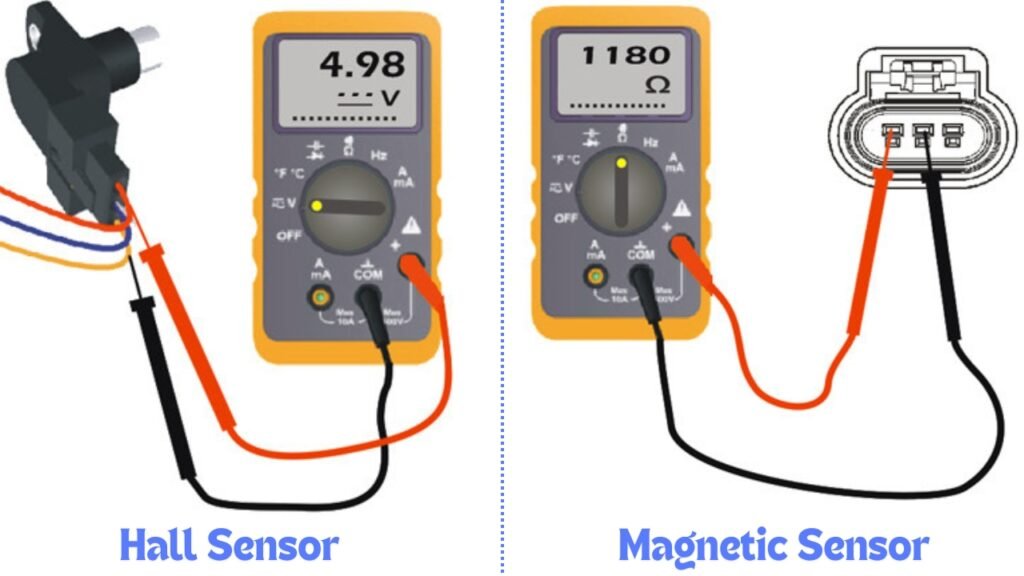

If your VVT actuator and cam sensors pass the test, but that code still persists, it’s time to move on to the next step.
Step #4 – Checking the engine oil level
Pull out the dipstick, wipe it clean, reinsert it, and then pull it out again to see where the oil level is at. If your oil level is low or the oil looks dirty, it’s time for an oil change. Dirty oil can cause issues with the VVT system, leading to that P0029 code.
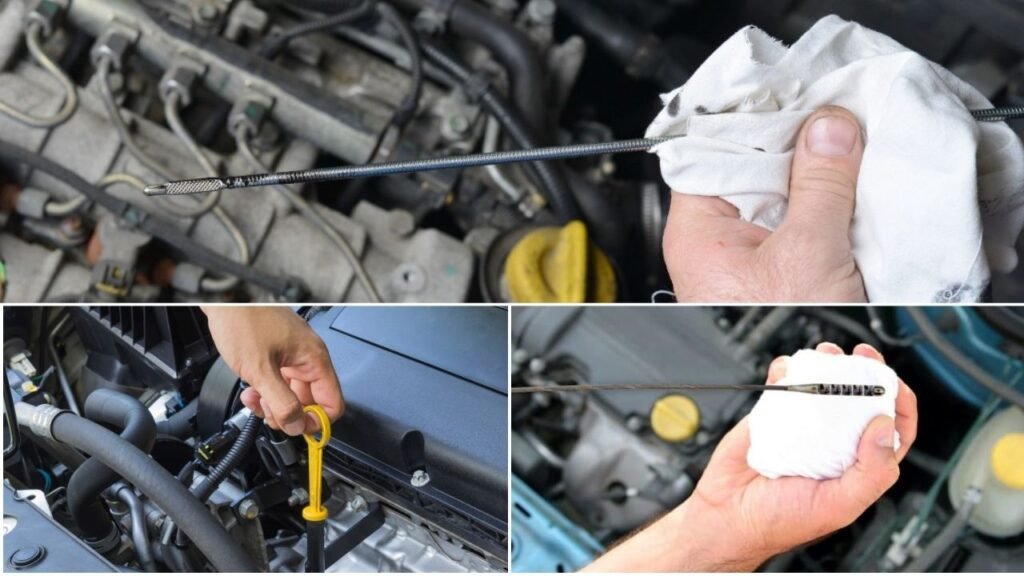

Dirty oil can cause issues with the VVT system, leading to that P0029 code.


